
When it comes to doing business, emails have completely changed the way we communicate on a daily basis. Today, we send several emails to employees, team members, customers and partners every day. But no one has the time or energy to send the same email to several people individually. This is especially true if you are a small business owner with enough things to manage anyway.
Luckily, there’s a simple way to address this challenge. Mailing lists in Outlook allow you to send the same mail to different people without having to add each recipient individually.
What’s more it takes very little time and effort to create a contact group in Outlook. Intrigued? Keep reading to learn how you can easily create mailing lists in Outlook web app and desktop.
How to Add Outlook Contacts to Your Mailing List
Before we start, let’s get some of the basics right. To begin with, let’s understand what constitutes as a mailing list. Mailing lists consist of email recipients addressed as a single recipient. Let’s take an example. Suppose you have 10 employees in your marketing division. To send out any communication they must receive as a group, you have two options. You either manually add each employee every time you send out an email. Or you can create a contact group and use that as a recipient to send communication. The second option will save you time and effort. It will also help ensure your communication always reaches intended recipients.
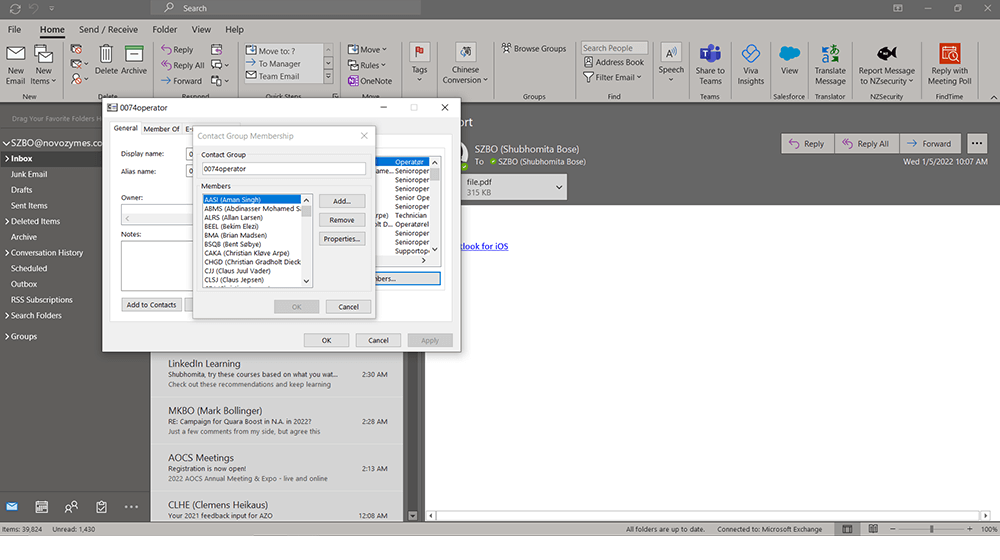
Here’s how you can add members to your mailing list in Outlook.
Step 1: Open your Home tab.

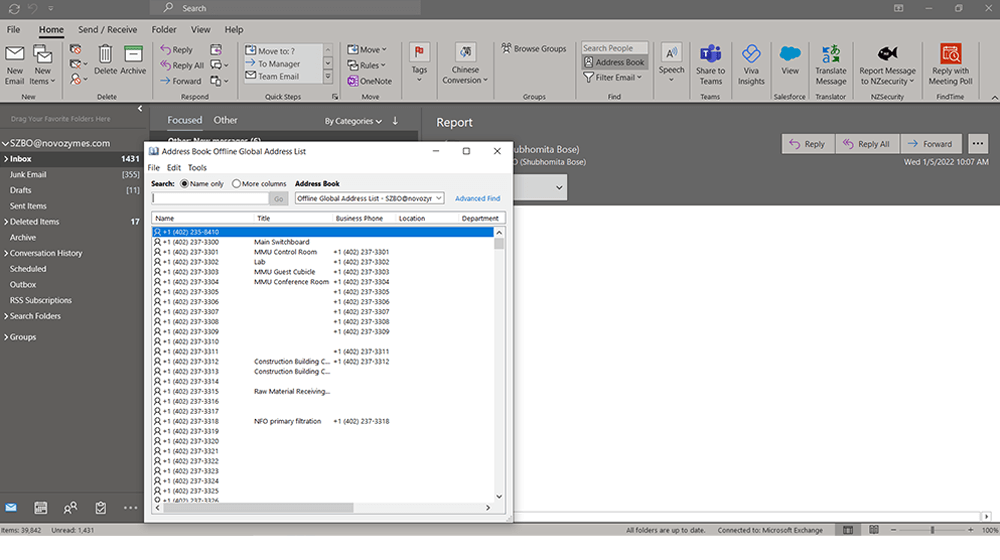
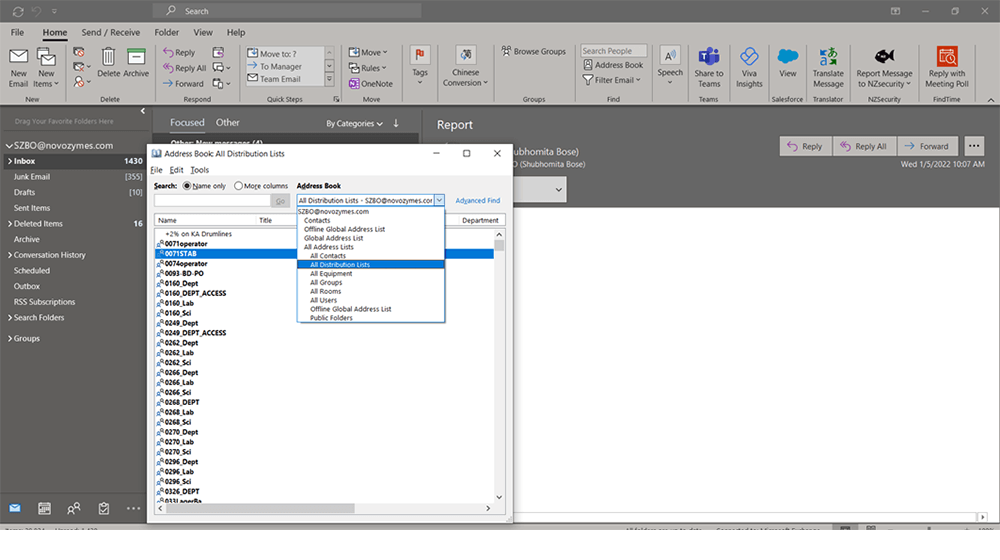
Step 3: In the Address Book option, click on “All Distribution Lists.”
How to Create a New Contact Group
Before you start sending emails to multiple recipients, you must create your contact group. Outlook allows you to create multiple contact groups to help you save time.
By creating multiple contact groups, you’ll be able to better organize your communication. Here’s how. If you are a business owner, you most likely send group emails to different people for different communication purposes. One group may consist of your sales team while another may include your marketing partners. Instead of adding these contacts manually, you can create two specific groups. This will streamline your communication and make it easier for you to manage emails.
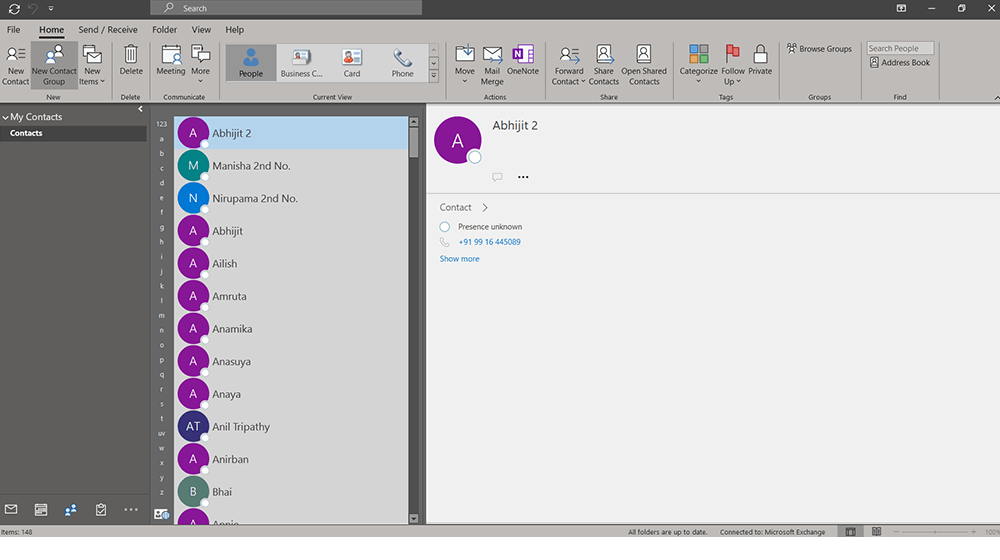
To create a new contact group tag, you need to follow a few steps.
Step 1: On the home page, select the People option at the bottom.

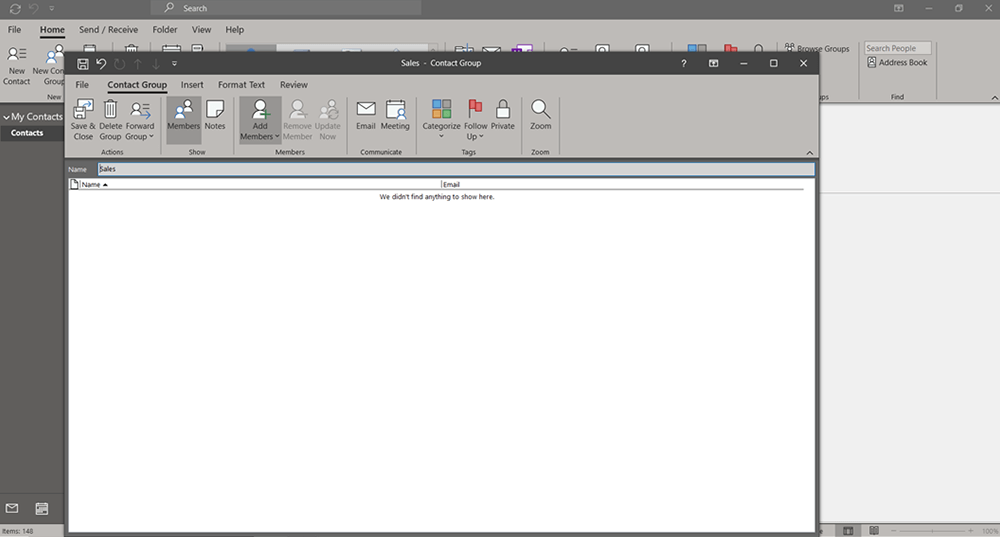
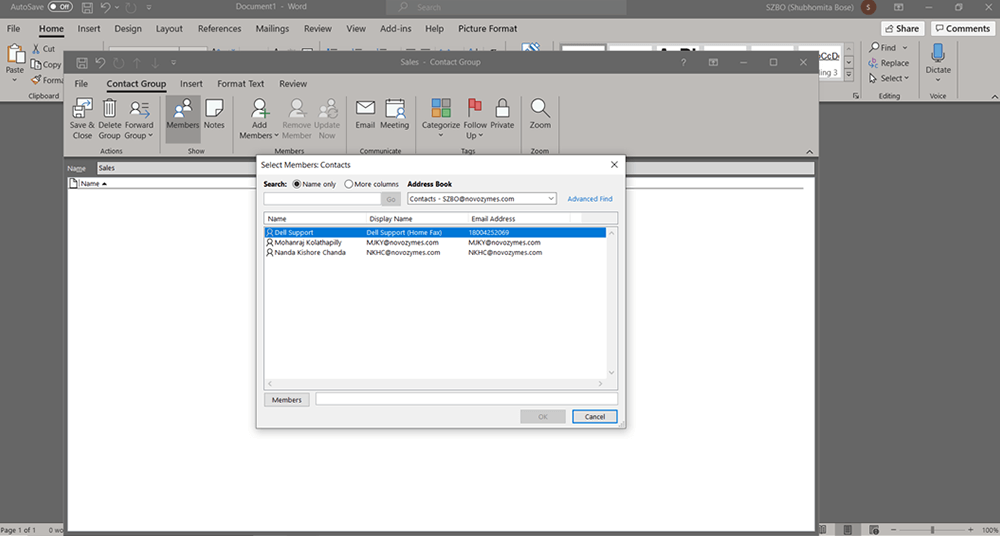
Step 4: Click “add members” and select “from Outlook contacts” from the drop down menu.
How to Use Your Email Distribution List in Outlook
Once you have created your own distribution list and added members to it, you can start using it to send communication. The benefit is the amount of time you can save to send the same message to multiple recipients at the same time. Let’s take a look at the steps you need to take to start using the global address list in Outlook.
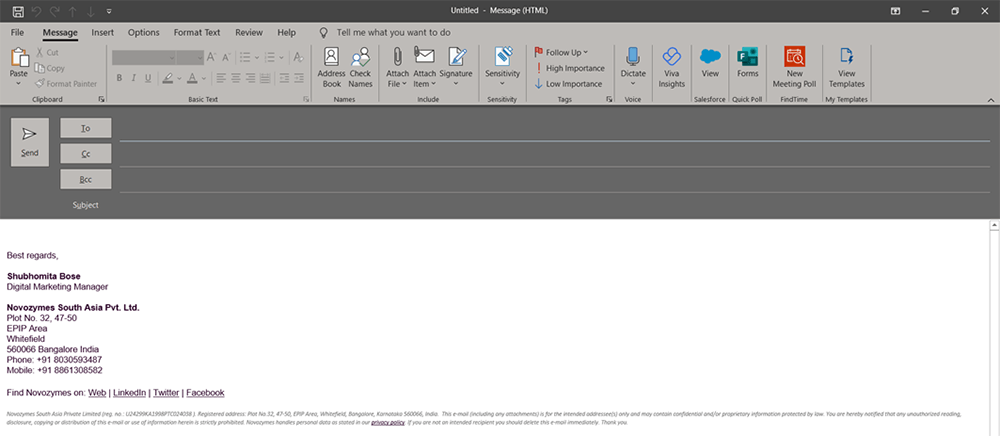
Step 1: Go to Home Page and select “New Email.”
Step 2: Select “To.”
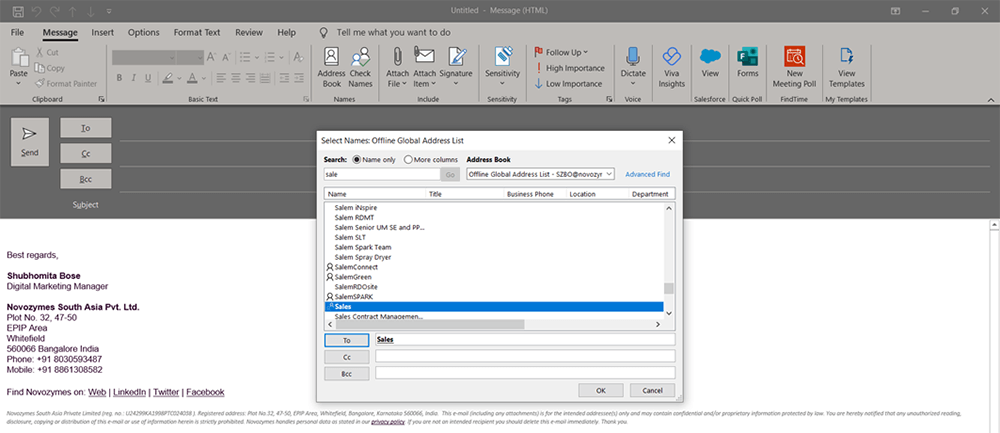
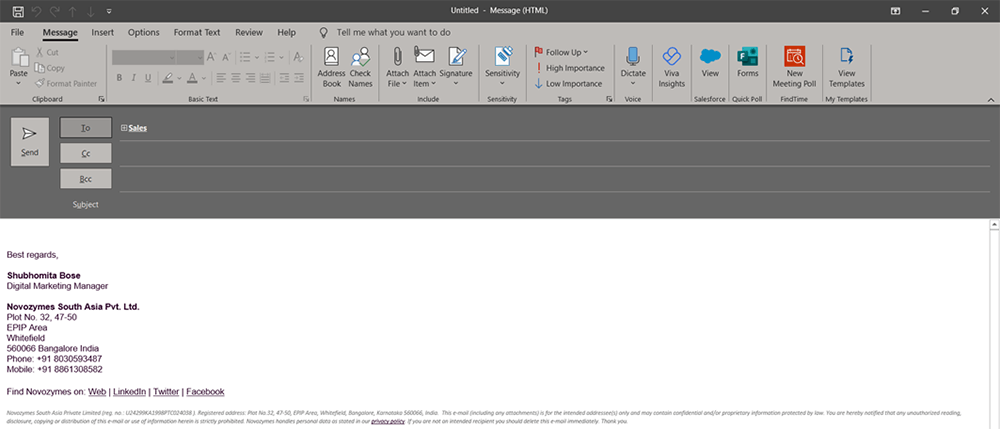
Step 3: In the search box, type your distribution list and select.
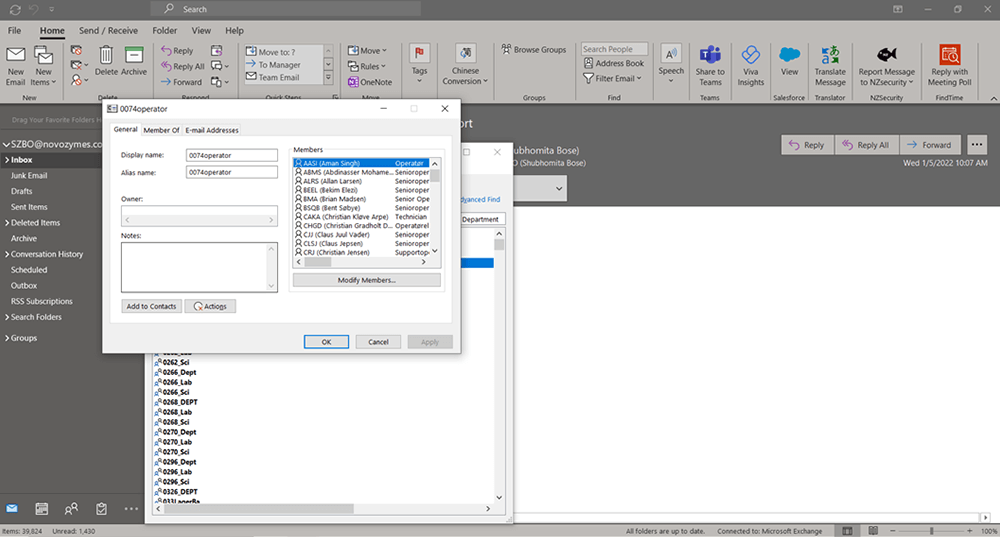
Note: In Outlook, you can not only add new email contact to your distribution list, but also remove past members with a few clicks. To do this, you need to open your distribution list first. Go to the “People” tab and find the contact list you wish to modify.
Once you have found your contact group, double click to open it. When you do this, you will see the names of all members within that distribution list. Select the names you wish to remove from the contact group and click on the “Remove Member” option. The next step is to press save and close.
As you can probably tell, creating distribution lists and contact group is fast and simple, especially when you need to send the same message to many people. And this option is available with other email clients, here is how to make a distribution list in Gmail.
Image: Depositphotos
This article, "How to Make a Mailing List in Outlook" was first published on Small Business Trends
----------------------------------------------------------------
By: Shubhomita Bose
Title: How to Make a Mailing List in Outlook
Sourced From: smallbiztrends.com/2022/01/how-to-make-a-mailing-list-in-outlook.html
Published Date: Thu, 13 Jan 2022 20:00:41 +0000